
Bitumen is one of the most important materials in the construction industry.
It works as a strong binder to hold rocks and sand together for making durable roads.
However, not all road projects are the same.
Some roads are built in very hot deserts, while others are built in freezing cold areas.
This is why engineers must know the exact hardness and consistency of the material before using it.
To do this, experts rely on a globally recognized method called the bitumen penetration test.
Understanding this simple test helps us select the perfect material for long-lasting highways.
What is the Purpose of the Bitumen Penetration Test?
The main goal of this test is to measure how hard or soft a bitumen sample is.
If the material is too soft, the road might melt or deform under heavy trucks during hot summer days.
On the other hand, if it is too hard, the road can become brittle and crack easily during cold winter nights.
By testing the material, we can easily classify it into different categories known as penetration grades.
This classification system helps road builders select the right product for their specific climate.
For buyers looking for high-quality binders that meet these global standards, finding a reliable supplier is key.
You can explore certified products at Royal Bitumen to ensure your project gets the best materials.
The Testing Apparatus: What Tools Do We Need?
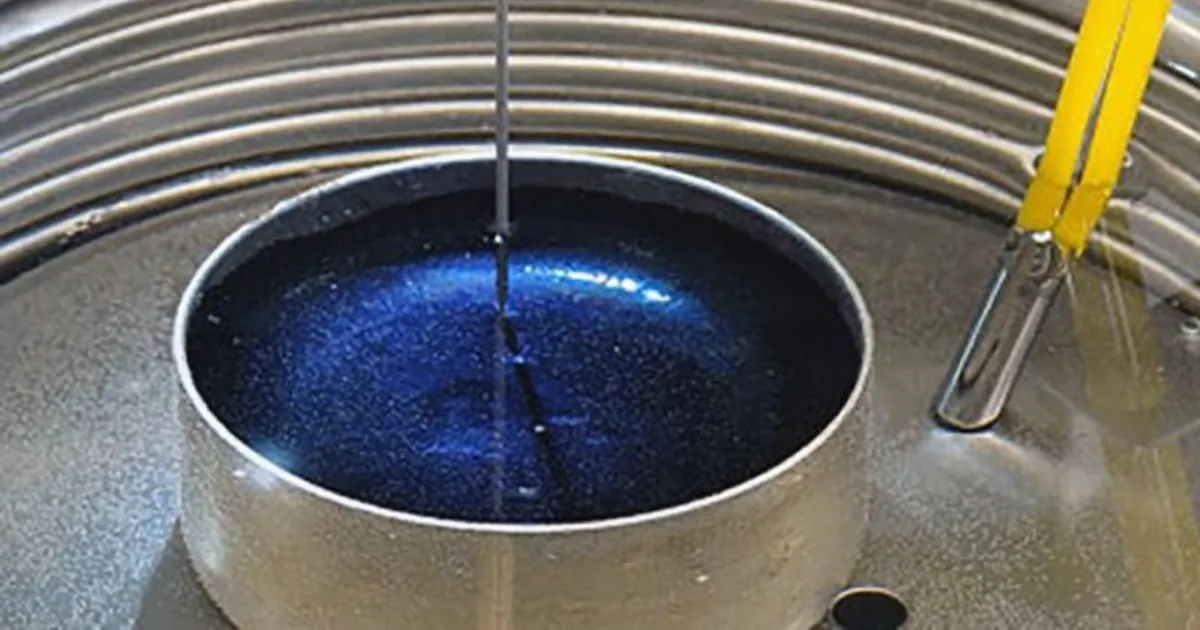
To perform this test accurately, engineers use a standard set of equipment:
- Penetrometer: A precise machine with a calibrated dial to measure depth.
- Standard Needle: A clean, sharp, and weighted needle (usually weighing 100 grams).
- Water Bath: A temperature-controlled container to keep the sample at exactly 25°C.
- Sample Container: A small metal or glass dish to hold the molten bitumen.
- Timer: A stopwatch to measure the exact loading time of 5 seconds.
Step-by-Step Test Procedure
The testing process is straightforward but requires great accuracy:
- Preparing the Sample:
First, melt the material gently and pour it into the small container.
Let it cool down at room temperature, making sure there are no air bubbles trapped inside. - Controlling the Temperature:
Place the container into the water bath.
Keep it there for at least an hour until the sample reaches a stable temperature of exactly 25°C. - Setting Up the Needle:
Place the container directly under the penetrometer needle.
Slowly lower the sharp needle until it just touches the surface of the sample. - Releasing the Load:
Release the needle holder for exactly 5 seconds.
This allows the weighted needle to sink vertically into the sample under its own weight. - Reading the Depth:
Measure how deep the needle went.
This distance is measured in tenths of a millimeter (0.1 mm) and is called the penetration value.
Understanding Penetration Grades
The final number we get from the test determines the grade of the material.
For example, a lower number means the needle did not sink very deep, which indicates a harder material.
Conversely, a higher number means the needle sank deep, showing a softer material.
Common examples of these grades include:
- 40/50 Grade: Harder material, best suited for hot climates with heavy traffic.
- 60/70 Grade: Medium hardness, widely used for general road construction globally.
- 80/100 Grade: Softer material, ideal for cold regions to prevent road cracking.
Knowing these differences is essential for choosing the correct bitumen category for your paving requirements.
Selecting the proper grade ensures the pavement remains strong and safe for many years to come.